Sanity
Sanity.io is a SaaS platform that provides a real-time data store for structured content. It comes with its own open-source editing environment called Sanity Studio that you can host yourself and lives right next to your website. Sanity has generous included quotas, so getting started is free.
The easiest way to get started is by using the 1-click starter:

Here is a screencast of what will happen when you click the button:
Things to note
The rest of this guide assumes you are already familiar with Sanity in general and focused on the aspects that are special when using it together with Capri.
Fetching data from Sanity
Since Capri has no abstraction layer around data-fetching, it's up to your page components to load the required data. In our starter template we use custom hooks to do so.
Here is the usePageData() hook taken straight from the starter template:
import { useLocation } from "react-router-dom";
import useSWR from "swr";
import { client } from ".";
import { Page } from "./schema";
import { usePreviewSubscription } from "./usePreviewSubscription";

const pageQuery = `*[_type == "Page" && slug.current == $slug]`;

export async function fetchPage(slug: string) {
  const [page] = await client.fetch<Page[]>(pageQuery, { slug });
  return page;
}

export function usePageData() {
  const location = useLocation();
  const slug = location.pathname;
  const { data: initialData } = useSWR(slug, fetchPage, {
    suspense: true,
  });
  const { data } = usePreviewSubscription(pageQuery, {
    initialData,
    params: { slug },
  });
  return data;
}
Let's take a step-by-step look at what it does:
-
It defines a GROQ query to load a Page by its slug:
*[_type == "Page" && slug.current == $slug] -
It defines a fetcher for SWR that uses the sanity client to execute the query. The SWR hook is called with
suspense: trueso Capri will wait for the result, before it renders the static HTML. -
It calls a second hook called
usePreviewSubscriptionwith the same query and parameters which will provide us with live updates when the page is viewed in preview mode.
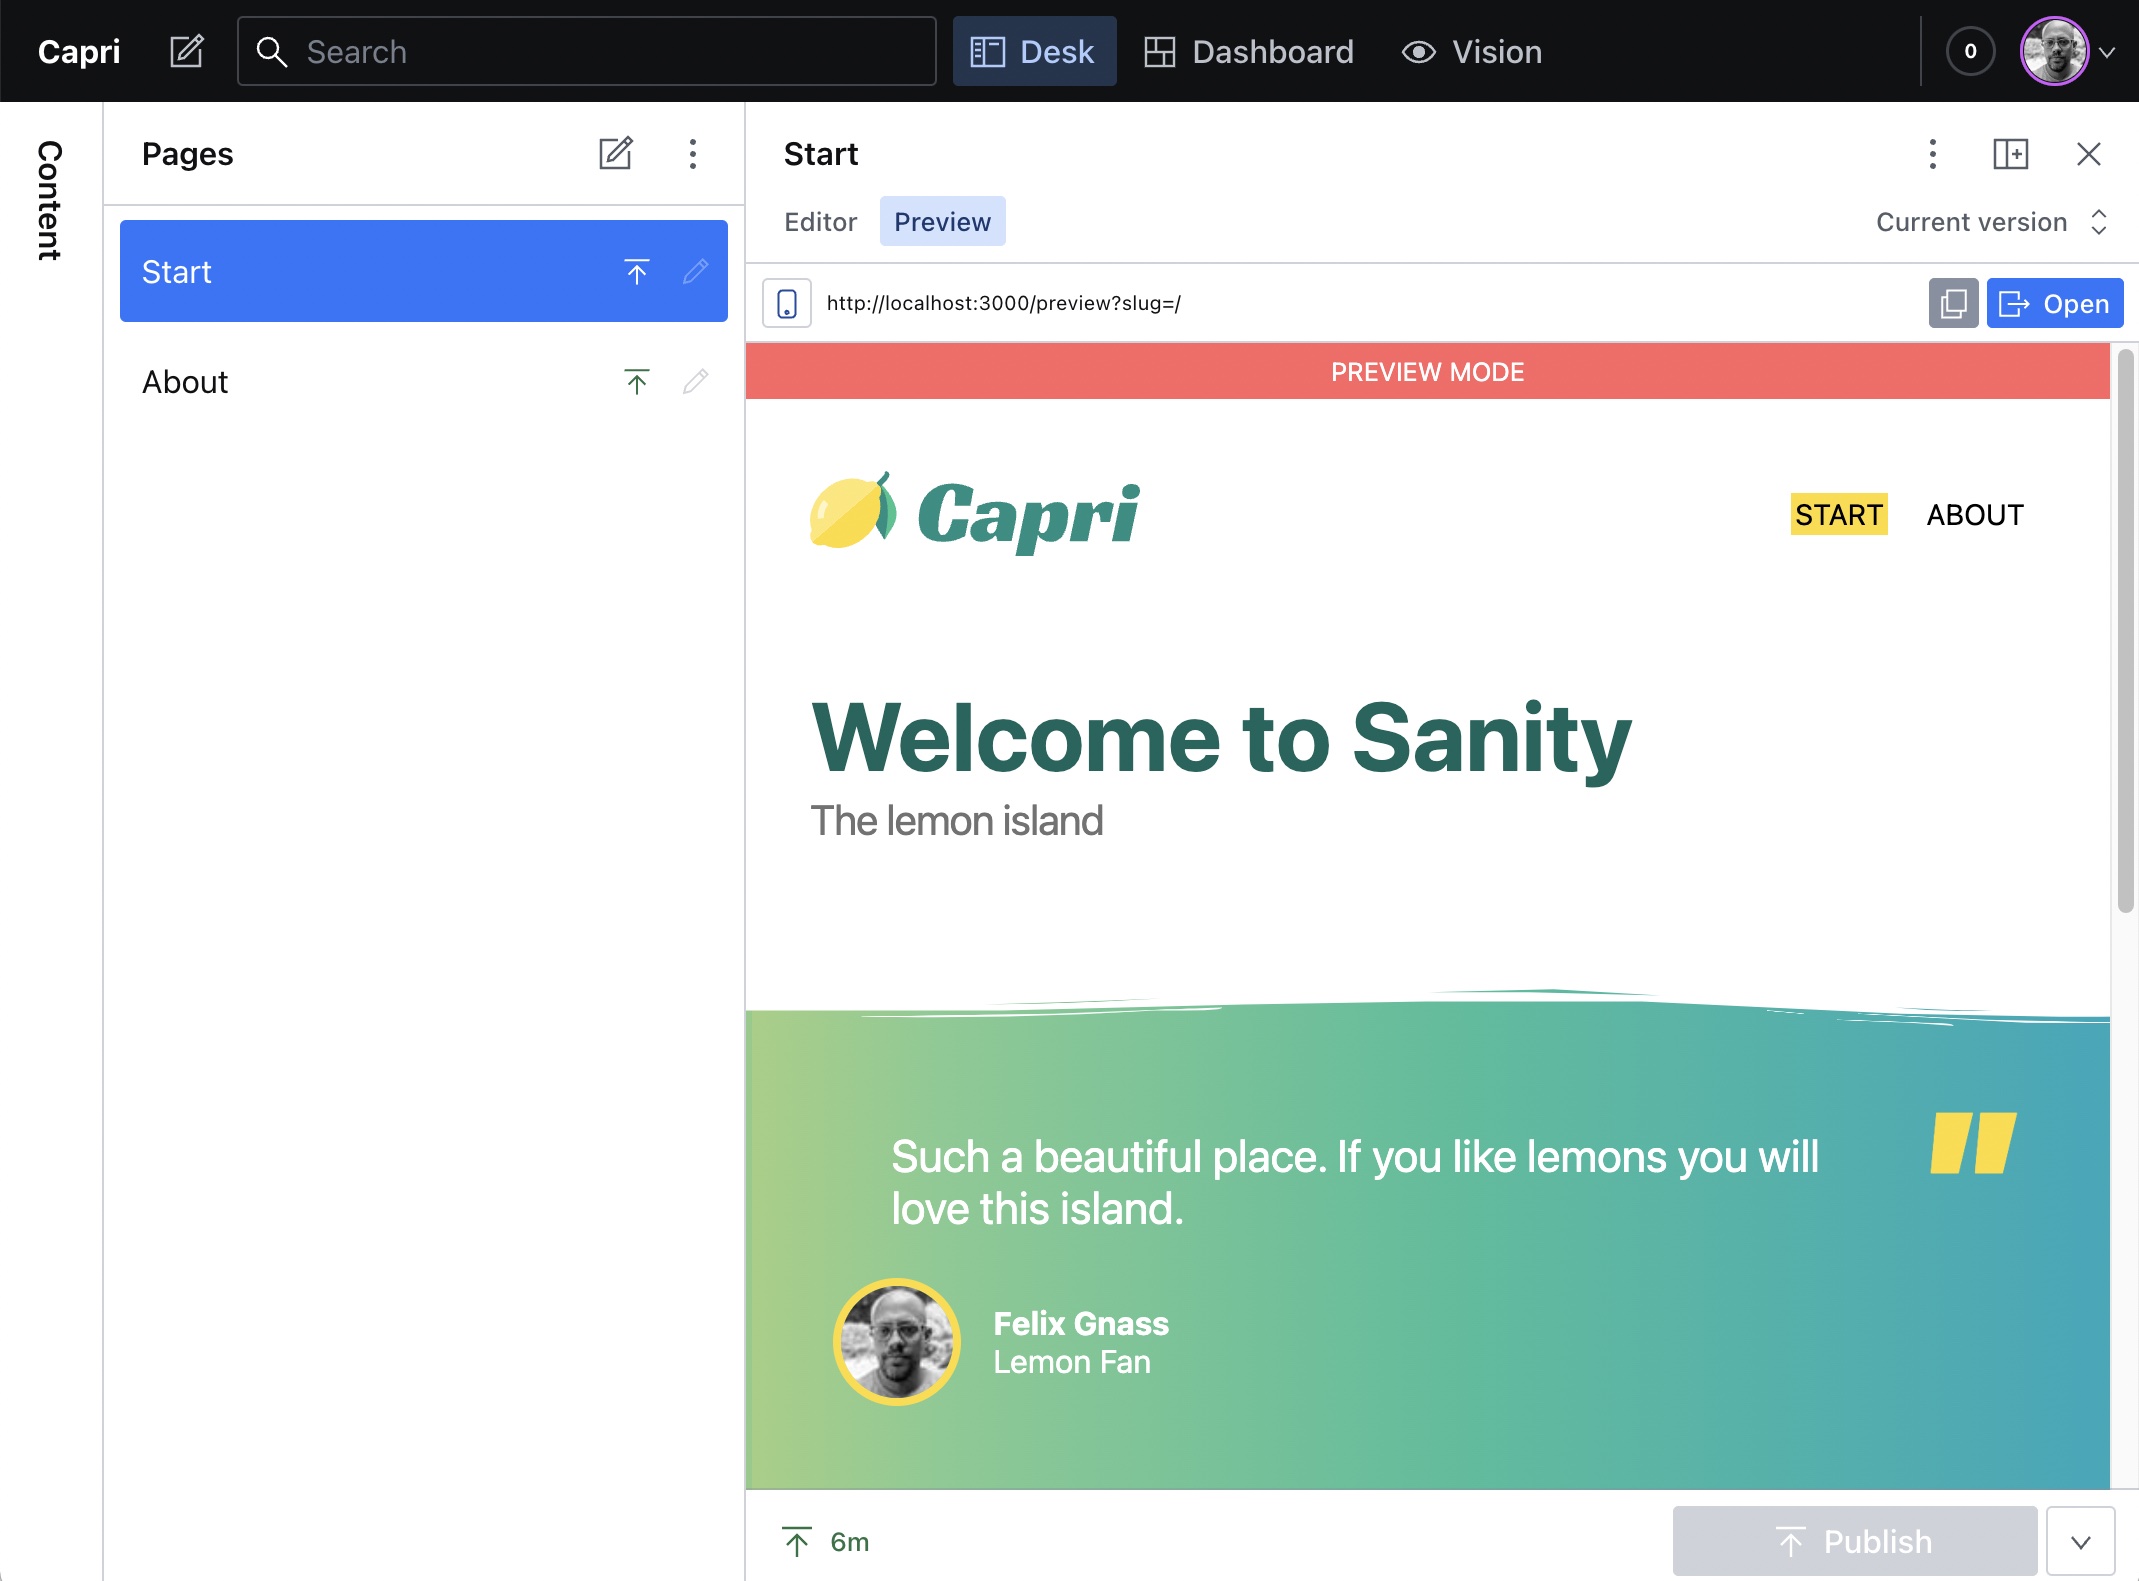
Adding live previews
While all our pages should be completely static and should not ship any JavaScript to the browser at all, we want a separate page for live previews that can render our whole site as single page app.
The first thing we have to do, is to tell Capri that it should generate such an
SPA under /preview/index.html:
// web/vite.config.ts

import { defineConfig } from "vite";
import react from "@vitejs/plugin-react";
import capri from "@capri-js/react/vite-plugin";

export default defineConfig({
  plugins: [
    react(),
    capri({
      spa: "/preview",
    }),
  ],
});
Next we add a banner to our client entry file to make users aware that they are in preview mode:
// web/src/main.tsx

import { StrictMode } from "react";
import ReactDOM from "react-dom/client";
import { BrowserRouter } from "react-router-dom";
import { App } from "./App";
import { PreviewBanner } from "./components/PreviewBanner";

ReactDOM.createRoot(document.getElementById("app")!).render(
  <StrictMode>
    <BrowserRouter>
      <PreviewBanner />
      <App />
    </BrowserRouter>
  </StrictMode>
);
In our App, we add a /preview route:
import { Suspense } from "react";
import { Route, Routes } from "react-router-dom";

import { Preview } from "./Preview";
import { Page } from "./Page";

export function App() {
  return (
    <Suspense>
      <Routes>
        <Route path="/preview" element={<Preview />} />
        <Route path="*" element={<Page />} />
      </Routes>
    </Suspense>
  );
}
When rendered, the Preview component reads a slug parameter from the URL
and uses the history API to navigate to the requested page:
// web/src/Preview.tsx

import { useEffect } from "react";
import { useNavigate, useSearchParams } from "react-router-dom";

/**
 * Handle preview requests like `/preview?slug=/about` by redirecting
 * to the given slug parameter.
 */
export function Preview() {
  const navigate = useNavigate();
  const [searchParams] = useSearchParams();
  useEffect(() => {
    const slug = searchParams.get("slug");
    if (slug) {
      navigate(slug);
    }
  });
  return null;
}
Finally, we have to configure the Sanity Studio to add preview links. This is what our resolveProductionUrl.ts file should look like:
// studio/resolveProductionUrl.ts

export default function resolveProductionUrl(document) {
  return `https://my-site.com/preview?slug=${document.slug.current}`;
}
For even more convenience, you can set up a split view with an
iframe pane in your deskStructure.ts file.
The full source code of this guide can be found in the starter template.